You have six minutes before leaving for work, and your white dress shirt looks as if it spent the night at the bottom of a suitcase. The collar curls upward. The placket has a sharp diagonal crease. One sleeve looks smooth, while the other looks worse than before. The fix does not require expensive tailoring equipment. You need the right order, enough moisture, and a heat setting that matches the fabric.
Ironing creates a sharper finish on collars, cuffs, and plackets. Steaming works faster on hanging shirts and reduces the risk of crushing delicate fibers. The best method depends on the finish you want, not on a universal rule that one tool always wins.
Why Dress Shirts Wrinkle and What Heat Actually Fixes
Verdict: heat plus moisture works because it relaxes the fibers that hold a wrinkle in place. Pressure then resets those fibers into a flatter shape. Heat alone can make a crease harder to remove, especially on dry cotton or linen.
What happens inside the fabric
Cotton fibers absorb water from steam or a light spray. As the fibers warm, they become more flexible. The soleplate or your hand-held steamer then moves the fabric into a new position. When the shirt cools and dries, it keeps that smoother shape. This explains why a dry iron often skates over wrinkles instead of removing them.
Polyester behaves differently. Too much heat can shine the surface or permanently distort the fabric. A cotton-polyester blend needs moderate heat and short passes. Linen needs more moisture and patience because its thick fibers hold deep creases. Silk and rayon need the lowest settings and often benefit from steaming from the inside.
Why pressure changes the finish
Steam relaxes fabric, but it does not always create a crisp edge. That matters around a collar stand, French cuff, or button placket. An iron applies direct pressure across a flat surface, so it creates the clean lines expected from formal business shirts. A steamer gives a softer finish, which looks better on relaxed Oxford shirts and shirts with stretch.
Use an iron when you want a sharp collar and flat seams. Use a steamer when the shirt only needs a quick refresh or when the fabric label warns against high heat. The tool should match the finish, fabric, and time available.
How to Prepare a Dress Shirt Before Ironing
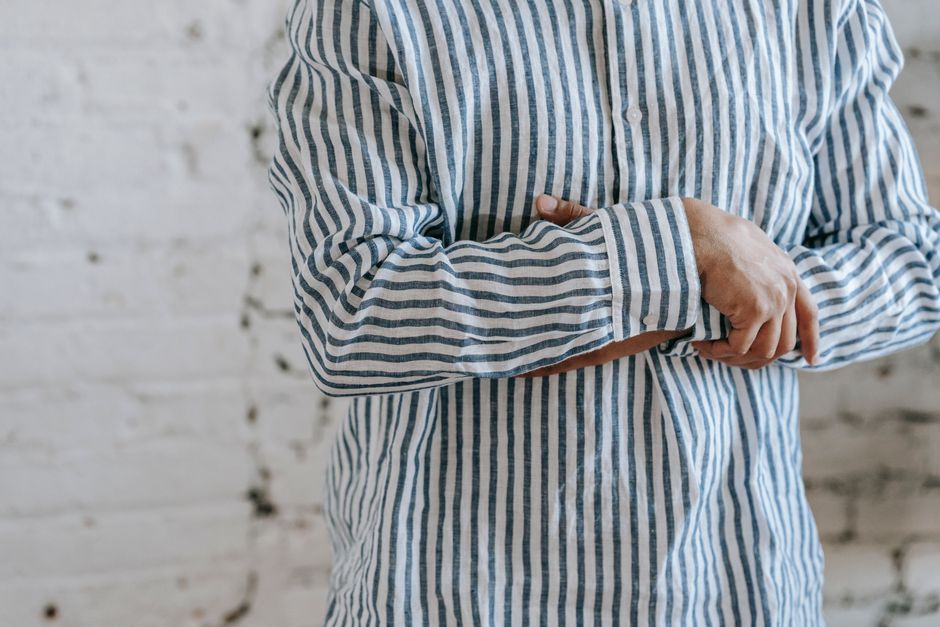
Verdict: preparation prevents most scorch marks, water spots, and repeated work. Start with the care label and a slightly damp shirt, then create a clean work surface.
The five-minute preparation sequence
- Read the fabric label. Find the maximum iron temperature and check for a no-iron or dry-clean-only symbol.
- Empty the pockets and remove collar stays. Plastic stays can warp under heat.
- Close one or two buttons so the shirt holds its shape, but leave the cuffs open.
- Turn dark shirts inside out if the fabric develops shine easily.
- Fill the iron or steamer with the water recommended by its manual. Do not add perfume, starch, or vinegar unless the manufacturer approves it.
- Set the shirt on a firm ironing board or hang it on a strong hanger. A soft bed cannot provide the pressure needed for sharp seams.
- Test heat on the inside of the shirt hem. Wait for the fabric to cool before checking the result.
How wet should the shirt be?
A dry cotton shirt often needs a fine mist before ironing. It should feel cool and slightly damp, not wet enough to leave dark patches. Let a freshly washed shirt rest for five minutes after the spin cycle so excess water can drain. Steaming needs less preparation because the tool supplies moisture while you work.
Never iron over a visible stain. Heat can set oils, deodorant, and food into the fibers. Treat the mark first, rinse away the cleaner, and let the area dry enough to inspect. A clean shirt also protects the soleplate from residue that can transfer to the next garment.
Ironing vs. Steaming: Which Method Wins?
Verdict: choose an iron for a crisp business finish and a steamer for speed, travel, or delicate fabrics. A good steamer cannot reproduce the hard edge of a pressed collar, while a hot iron takes longer to set up and carries a higher scorch risk.
Real tools compared for 2026
| Product | Key specification | Typical 2026 price | Best use |
|---|---|---|---|
| Jiffy J-2000 | 1300 watts; steam in about 1 minute; upright tank | $289 list price | Frequent home steaming and several shirts at once |
| Conair Turbo ExtremeSteam GS59X | 1875-watt steam generator; handheld format | $72.99 list price | Fast touch-ups and small apartments |
| BLACK+DECKER D3030 Allure Professional Steam Iron | Flat soleplate; digital controls; direct pressure | $48.99 list price | Budget-friendly collars, cuffs, and plackets |
| Philips 3000 Series STH3000/20 | 1000 watts; up to 20 g/min; 30-second heat-up; 100 ml tank | About $50 street price | Travel and light daily steaming |
The clear buying verdict
The BLACK+DECKER is the practical winner for most men who wear two or three dress shirts each week. Its flat soleplate gives you control over the collar and sleeve crease without a large investment. Choose the Conair for quick hanging touch-ups. Choose the Jiffy when you steam a full wardrobe regularly and want a larger upright setup. The Philips makes sense for travel, but its small 100 ml tank suits short sessions rather than a laundry pile.
Prices move by retailer, and some models appear under regional names. Check the voltage, warranty, tank size, and replacement-part availability before ordering. Wattage alone does not guarantee a better shirt finish.
The Exact Ironing Order for a Crisp Shirt
Verdict: iron from the smallest, most structured areas to the largest flat panels. That order stops you from creating new wrinkles while you handle the difficult parts.
The eight-step pressing order
- Lay the collar flat with the inside facing upward. Press from the points toward the center, then repeat on the outside.
- Open one cuff and iron the inside first. Move from the outer edge toward the sleeve seam.
- Turn the cuff over and make one light pass on the outside. Avoid pressing hard enough to flatten the cuff’s shape.
- Place one sleeve flat with the seam aligned. Press the cuff toward the shoulder, then rotate the sleeve.
- Work across the shoulder yoke by placing it over the narrow end of the board. This reaches curved fabric without a bulky fold.
- Iron the front placket from the bottom upward. Work around buttons instead of dragging the soleplate over them.
- Press the back panel in sections, keeping the fabric taut with your free hand.
- Finish the second front panel and hang the shirt immediately. Leave the top button open so air can move through the collar.
How to handle seams and sleeve creases
Use the tip of the soleplate near armholes, pockets, and buttons. Keep the iron moving on every surface that can shine. For a traditional sleeve crease, align the underarm seam with the top seam and press the outer edge. For a softer look, press the sleeve flat without creating a hard line.
Do not stretch the shirt while it is hot. Pulling a wet cotton panel can lengthen it or twist the side seam. Smooth the fabric with your palm, press briefly, and allow it to cool before moving to the next area.
Why Does My Shirt Still Look Wrinkled After Pressing?
Verdict: most poor results come from technique, not from a weak appliance. Fix the moisture, order, or cooling step before replacing the tool.
Why did the shirt wrinkle again after hanging?
You probably hung it while the fabric remained hot and damp, or you left the shoulders folded over a narrow hanger. Give the shirt five minutes to cool. Use a broad hanger that supports the shoulder seams, and button the top button so the collar keeps its shape. If the shirt still collapses, you may have used steam without enough pressure on the collar and placket.
Why did the iron leave shiny patches?
Shine usually comes from excessive heat, repeated passes, or direct pressure on dark fabric. Lower the temperature, place a clean cotton pressing cloth over the shirt, and iron from the inside. Never leave the soleplate in one spot. Wool trousers and synthetic blends need special care because heat can flatten their surface permanently.
When should you skip buying a steamer?
Skip a steamer if your main goal is a sharply pressed business wardrobe and you have no space for a separate ironing board. A steamer also adds little value if your shirts already leave the dryer slightly damp and you can press them immediately. Buy one when you regularly travel, wear linen, or need to refresh a shirt without laying out a board.
Shirt care is moving toward smaller tools, safer temperature controls, and fabrics that recover their shape on the hanger. The basic skill will remain the same: add controlled moisture, use the right heat, and finish with enough pressure to match the look you want.